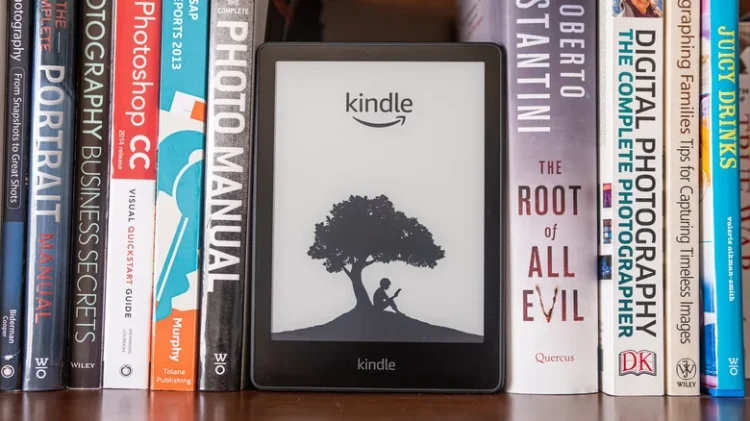
Digimagaz.com – Amazon’s Kindle devices are renowned for their exceptional e-reading capabilities, but their functionality extends far beyond just reading books.
If you frequently find yourself needing access to research papers, important documents, or unpublished works while on the go, knowing how to send a PDF to your Kindle can be incredibly useful. This guide will walk you through the process of transferring various file types to your Kindle, making it a versatile tool for both leisure and work.
Why Use Your Kindle for More Than Reading?
While the traditional method of transferring files via a USB cable is straightforward, it can be cumbersome when you’re away from your computer. Fortunately, Amazon provides a more flexible solution: sending documents directly to your Kindle via email. This method, though initially a bit complex to set up, offers significant convenience for frequent users.
Step-by-Step Guide to Sending PDFs to Your Kindle
1. Ensure Your File is Compatible
Before you begin, make sure your file is in a compatible format. Kindle supports a variety of file types, including:
- Word documents (DOC, DOCX)
- HTML
- RTF
- JPEG
- PNG
- GIF
- BMP
- Various Kindle formats (AZW, MOBI)
If your file is not in a supported format, consider using a file conversion tool. Many programs, such as Microsoft Word or image editing applications, offer a ‘Save As’ option to convert files into compatible formats.
2. Find Your Kindle Email Address
To send a document to your Kindle, you need to know your device’s unique email address. Here’s how to find it:
- In the US: Log in to the Amazon website and hover over ‘Account and Lists’ at the top-right corner. Select ‘Your devices and content’ and then click on ‘Manage Devices’.
- In the UK: Similarly, go to ‘Account and Lists’, choose ‘Your Devices’ from the left-hand block, and then click ‘Actions’.
From here, navigate to the ‘Devices’ tab, select your Kindle device, and note down the email address provided on the Device Summary page.
3. Approve Your Email Address
For security reasons, you need to authorize your personal email address to send documents to your Kindle. Follow these steps:
- Go to ‘Your devices and content’ and select ‘Preferences’ instead of ‘Devices’.
- Scroll down to ‘Personal Document Settings’ and expand this section.
- Find ‘Approved Personal Document E-mail List’ and click ‘Add a new approved e-mail address’.
- Enter your email address and click ‘Add address’.
If you use multiple email addresses, make sure to add all of them.
4. Send the PDF
Now that your email is approved, you can send documents to your Kindle:
- Compose a new email, attach the document, and send it to your Kindle’s email address.
- For PDF files, you can add ‘convert’ in the subject line to have Amazon automatically convert it to a Kindle format, enabling annotations and font adjustments.
5. Approve the Transfer
After sending the email, you’ll receive a confirmation email from Amazon. Verify the file transfer through the provided link. This step enhances security but can be disabled for future transfers if preferred.
6. Sync Your Kindle
Once the file is sent, it should appear on your Kindle. If it doesn’t, ensure your Kindle is connected to the internet and sync it manually by going to the home page, pressing ‘Settings’, and selecting ‘Sync Your Kindle’.
Additional Tips
- File Management: Regularly clean up your Kindle’s document folder to ensure it remains organized and clutter-free.
- Security: Always use secure email accounts and consider enabling two-factor authentication for additional security.
Conclusion
With these steps, you can maximize your Kindle’s potential, turning it into a valuable tool for both leisure and productivity. By understanding how to send and manage various file types on your Kindle, you can access important documents anytime, anywhere, without the need for a USB cable.


