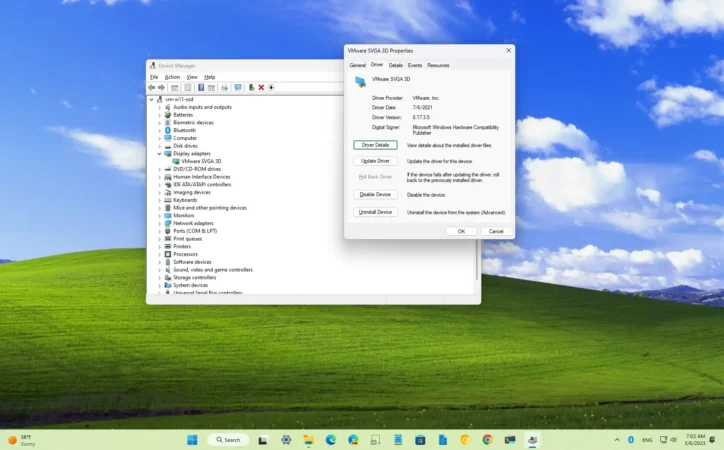
Digital Magazine – Artificial Intelligence tools like DeepSeek are rapidly gaining popularity, offering users cutting-edge capabilities in AI-powered assistance. However, with innovation comes concerns about security and privacy, prompting users to explore safer ways to test AI applications without risking their personal data. One effective solution is to use a virtual machine (VM), a secure, isolated environment that allows users to run software without exposing their primary system to potential threats.
In this guide, we will walk you through setting up a Windows 11 virtual machine to safely explore DeepSeek. This method, often referred to as “sandboxing,” ensures that any potential security risks remain confined to the VM, protecting your main system from unauthorized access or data leaks.
Why Use a Virtual Machine for DeepSeek?
A virtual machine acts as an independent system within your existing computer. It allows you to install and run software in a controlled, self-contained environment, minimizing risks associated with malware, security vulnerabilities, and data exposure. Since DeepSeek is a relatively new AI platform with limited information on data privacy policies, testing it in a sandboxed virtual environment is a prudent approach.
What You Need to Set Up a Windows 11 Virtual Machine
To create a secure VM for testing DeepSeek, you’ll need the following:
- A modern PC with sufficient processing power and memory
- VirtualBox – Free virtualization software
- Windows 11 ISO file – Official installation image from Microsoft
- A DeepSeek account
Step-by-Step Guide to Creating a Windows 11 Virtual Machine
Step 1: Download and Install VirtualBox
VirtualBox is a widely used open-source virtualization tool. Download it from the official VirtualBox website and install it by following the on-screen instructions.
Step 2: Obtain the Windows 11 ISO Image
You need a Windows 11 installation file in ISO format. To get this:
- Visit Microsoft’s official Windows 11 download page.
- Scroll down to “Download Windows 11 Disk Image (ISO) for x64 devices.”
- Select “Windows 11 (multi-edition ISO),” then click “Download.”
- Save the file to your computer (approximately 6GB in size).
Step 3: Create a Virtual Machine in VirtualBox
- Open VirtualBox and click New to create a new virtual machine.
- Enter a name for your VM (e.g., “Windows 11 Test”) and select the folder where it will be stored.
- In the ISO Image section, click Other…, locate the Windows 11 ISO file, and select it.
- VirtualBox will automatically detect Windows 11. Click Next to proceed.
Step 4: Configure Hardware Settings
Properly allocating system resources ensures smooth VM performance:
- Memory (RAM): Allocate at least 4GB (8GB recommended for better performance).
- Processors: Assign at least two cores to optimize processing.
- Virtual Hard Drive: Set a minimum of 80GB (VirtualBox dynamically expands storage as needed).
Click Next and then Finish to complete the VM setup.
Step 5: Install Windows 11
- Start your newly created VM and follow the on-screen prompts to install Windows 11.
- When asked for a product key, click I don’t have a product key to proceed with the free installation.
- Complete the installation by setting up a user account and configuring preferences.
Step 6: Access DeepSeek in a Secure Environment
Once Windows 11 is installed on your VM:
- Open the Microsoft Edge browser within the virtual machine.
- Navigate to the DeepSeek website.
- Sign up for an account using an email instead of linking your Google account for added privacy.
- Explore DeepSeek within the safety of your sandboxed environment.
Step 7: Properly Shutting Down Your Virtual Machine
When you’re done testing:
- Option 1: Shut down the VM via the Windows Start Menu > Power > Shut Down.
- Option 2: Save your VM state for future use by selecting File > Close in VirtualBox and choosing Save the machine state.
Final Thoughts: Is Using a VM Overkill for DeepSeek?
Some users might question the necessity of a virtual machine, especially since DeepSeek operates primarily via a web interface. However, AI applications often evolve rapidly, and their data handling policies may not always be transparent. By testing DeepSeek in a virtualized environment, you are ensuring an added layer of security and control.
Moreover, once you set up a virtual machine, it becomes a valuable tool beyond DeepSeek. You can use it to safely test other new software, experiment with different operating systems, or even create a secure environment for online activities.
By following these steps, you can explore DeepSeek without compromising your personal data or main system integrity. As AI tools continue to emerge, staying proactive about cybersecurity is the best approach for responsible tech enthusiasts.


