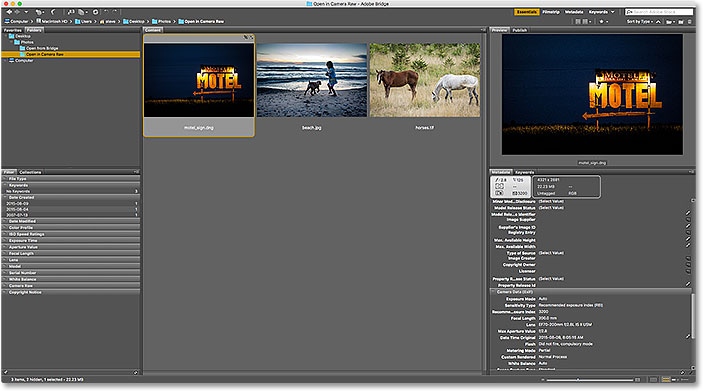
Are you looking for the camera RAW filter menu in Photoshop, but you won’t find it? It could be that the problem occurs, because you have not manually activated the camera RAW filter feature in the Photoshop settings. Then, how to open camera raw in photoshop? Sometimes, such problems often occur, especially in older photoshop applications such as photoshop Cs6. But you don’t need to worry, because actually how to open camera raw in photoshop, will be completely peeled off in this article.
How to Open Camera Raw in Photoshop? Here is the full explanation!
But beforehand, you must pay attention to the version of Photoshop that you are currently using, because the CS and CC versions of the camera RAW filter menu are different. And for those of you who are already curious about how to open it, without lingering any longer, here is the full review.
What is the Camera Raw filter feature?
Camera Raw filters are filters that are used to change the effect of photos, which are taken using the Raw feature on the camera. But you can also use JPEG and Tiff format files.
The history of Camera Raw’s filter features began at the release of Adobe Photoshop 7.0.1. After that, it continues to the entire adobe photoshop version, all the way to the CC version. So, most likely the version of Adobe Photoshop that you have, already has this feature.
How to Enable the Camera Raw Filter Feature in Adobe Photoshop
Here I am using Adobe Photoshop Cc. But don’t worry, because this method can also be used on all versions of Adobe Photoshop, such as Adobe Photoshop 7.0.1, Cs, Cs2, Cs3, Cs4, Cs5, Cs6, and Cc. And here are the ways:
- The first step, open the Adobe Photoshop software
- Enter the photo or image you have.
- Then click the Filter Camera menu » Raw Filter, or more simply press Shift + Ctrl + A on the keyboard.
- Now that the Camera Raw Filter feature is open, please edit the photo as you wish.
- If so, you just click Ok.
- If you still have doubts, you can click Cancel.
How to Enable the Camera Raw Filter Photoshop Feature Automatically
- The first step is to open the Adobe Photoshop software.
- Click the Edit menu » Preference » Camera Raw.
- Inside is a JPEG and TIFF Handling column:
- Jpeg: you select Automatically Open All Supported Jpegs.
- Tiff: you select Automatically Open All Supported Tiffs.
- When finished, you just click Ok.
- After that, please close the Adobe Photoshop software, then open it again.
- Now click the menu Archive » Open, find the image in JPEG or TIFF format, which you want to edit.
- Then the Camera Raw feature will appear automatically.
- Please arrange it in advance according to your wishes.
- The next step, you click Open Image when finished.
- Finally, the display in Adobe Photoshop will immediately display the image according to the color settings you just set. To change the color again, you just need to open the Camera Raw filter manually.
For those of you who don’t find the Camera Raw feature, you can download it via the link sometimes provided by the official Adobe website.
If you are still confused, you can check out the tutorial on youtune. Thus the article from me on how to unlock the Camera Raw filter feature in Adobe Photoshop. Hope it is useful. Don’t forget to share this article, so that it is useful for others.
Read More :
